How to Resize an Image Without Stretching or Distortion
Understand aspect ratio, resizing, cropping, and padding so your images fit new dimensions without looking stretched.
Why images become stretched
Stretching happens when width and height change by different proportions. A 1600 × 900 image has a 16:9 aspect ratio. If it is forced into a 1000 × 1000 square without cropping or padding, the horizontal and vertical scale factors no longer match. Circles become ovals and faces look unnaturally wide or narrow.
The fix is to decide whether the destination can keep the original ratio. If it cannot, choose between cropping and padding rather than distorting the pixels.
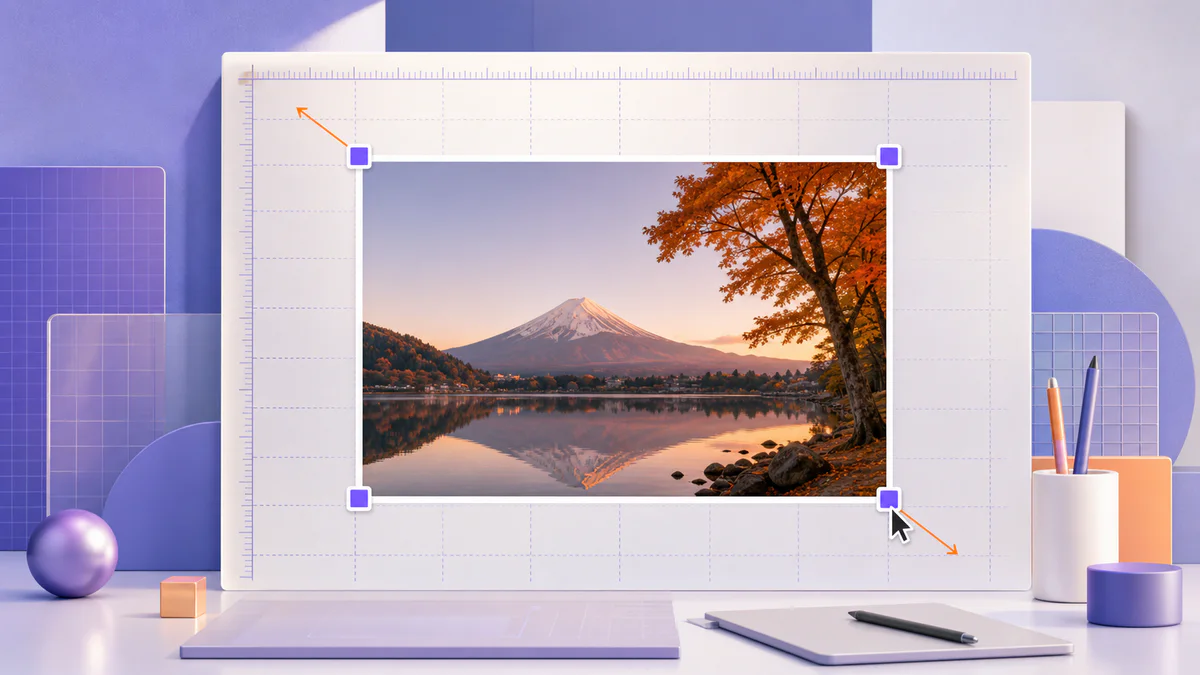
Keep the aspect ratio locked
When changing width, let the editor calculate height automatically. The Pixores image resizer includes controls designed for proportional resizing. This is the correct approach for email attachments, website images, and smaller copies that do not need an exact new shape.
For example, reducing a 2400 × 1600 image to 1200 pixels wide should produce 1200 × 800. Both dimensions are reduced by half.
Crop when the destination has a different shape
If a portrait photo must become a square profile image, resizing alone cannot solve the composition. Crop the image to a square first, moving the frame so the subject remains well positioned. Then resize the cropped result to the required pixel dimensions.
Use the crop image tool for exact ratios and visual reframing. Leave some space around faces because many platforms apply an additional circular or rounded crop.
Add padding when nothing can be removed
Product photos, diagrams, and artwork may contain important details near every edge. In that case, place the full image on a larger canvas with padding. The result fits the required aspect ratio without losing content. Choose a background color that supports the image, or use transparency when the destination accepts it.
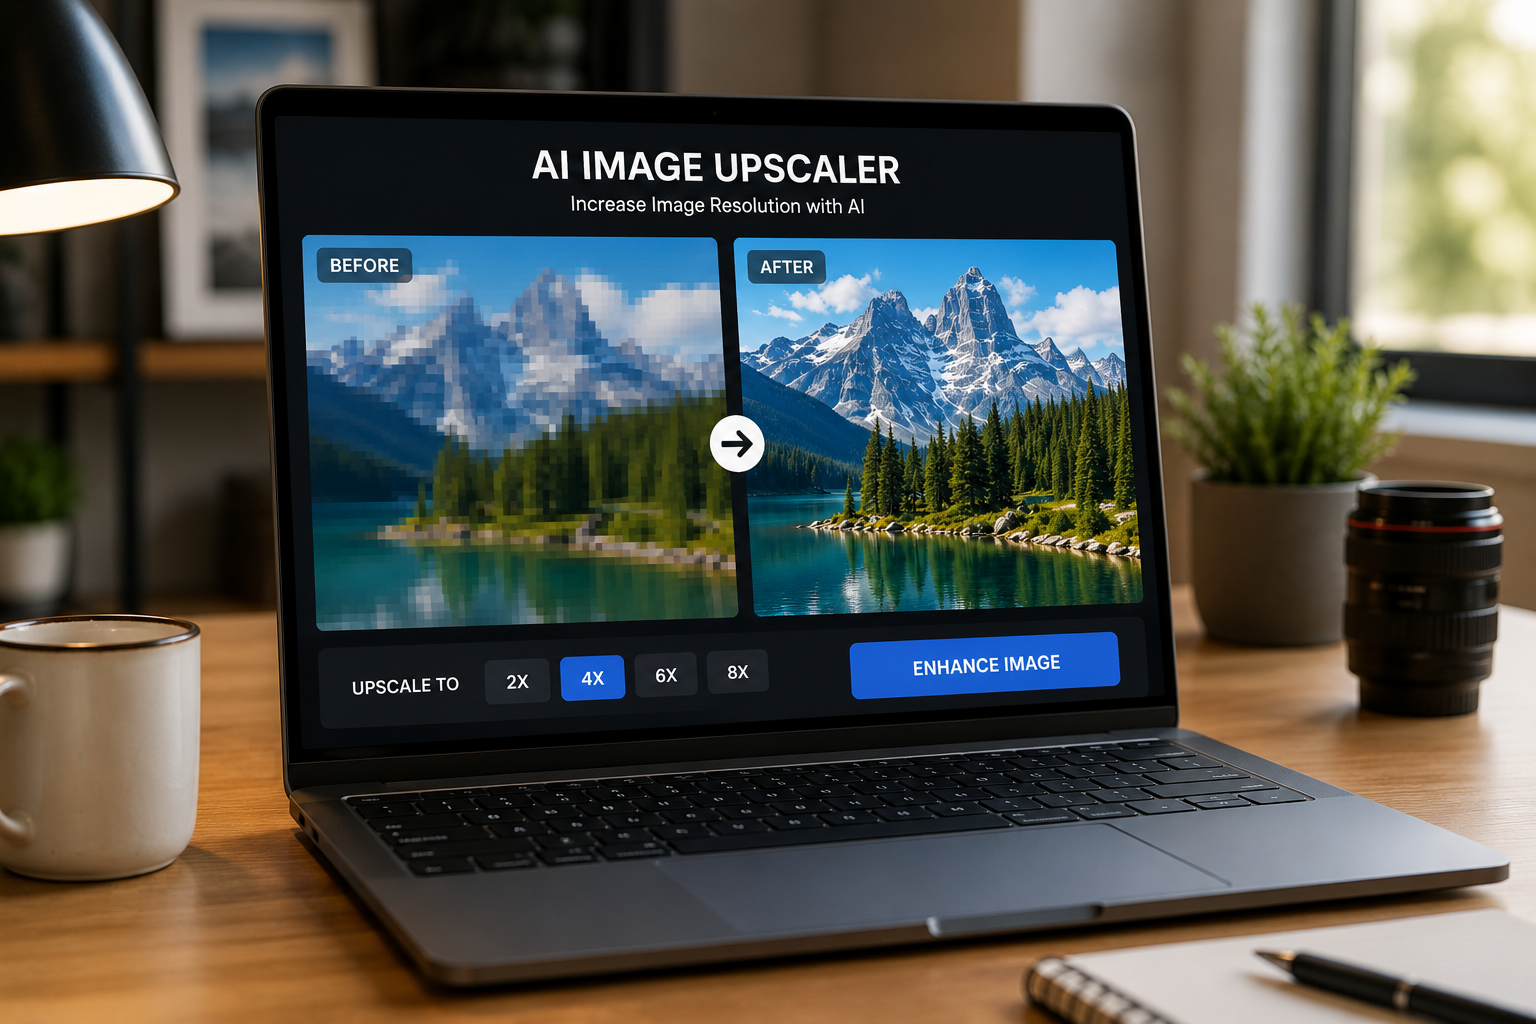
Understand upscaling
Making an image larger does not reveal detail that was never captured. Standard resizing estimates new pixels and can soften edges. AI upscaling may reconstruct plausible texture, but it is still an interpretation. Use Pixores AI Image Upscaler when you need a larger output, and inspect faces, text, product details, and fine patterns before publishing.
Avoid repeated resizing
Every derivative should come from the best available master. Do not resize a small social image into a banner and then compress it again. Repeated processing can amplify softness and artifacts. Keep the original and name derivatives clearly by purpose or dimensions.
Common mistakes
- Typing width and height independently with ratio lock disabled
- Using CSS to force an image into a mismatched box
- Upscaling a thumbnail into a large print asset
- Cropping without checking mobile safe areas
- Overwriting the only original file
Final workflow
Identify the required aspect ratio, choose resize, crop, or padding, work from the master, and inspect the output at its real display size. Once the composition is correct, use image compression to create an efficient delivery copy.