How to Make a Transparent Background PNG Online
Remove an image background, refine the edges, and export a transparent PNG for thumbnails, products, and designs.

What transparency actually means
A transparent image stores an alpha channel that controls the opacity of each pixel. Transparent areas may appear as a gray checkerboard inside an editor, but that checkerboard is only a preview. When the file is placed over a new background, the underlying color or image shows through.
PNG is a common choice because it preserves transparency and sharp edges. WebP can also support transparency, but PNG remains convenient for many design and publishing workflows.
Start with a suitable source
Background removal works best when the subject is sharp, well lit, and visually separated from the background. Motion blur, low resolution, transparent objects, smoke, loose hair, and similar foreground/background colors make the task harder. Whenever possible, choose the cleanest original rather than trying to repair a tiny downloaded copy.
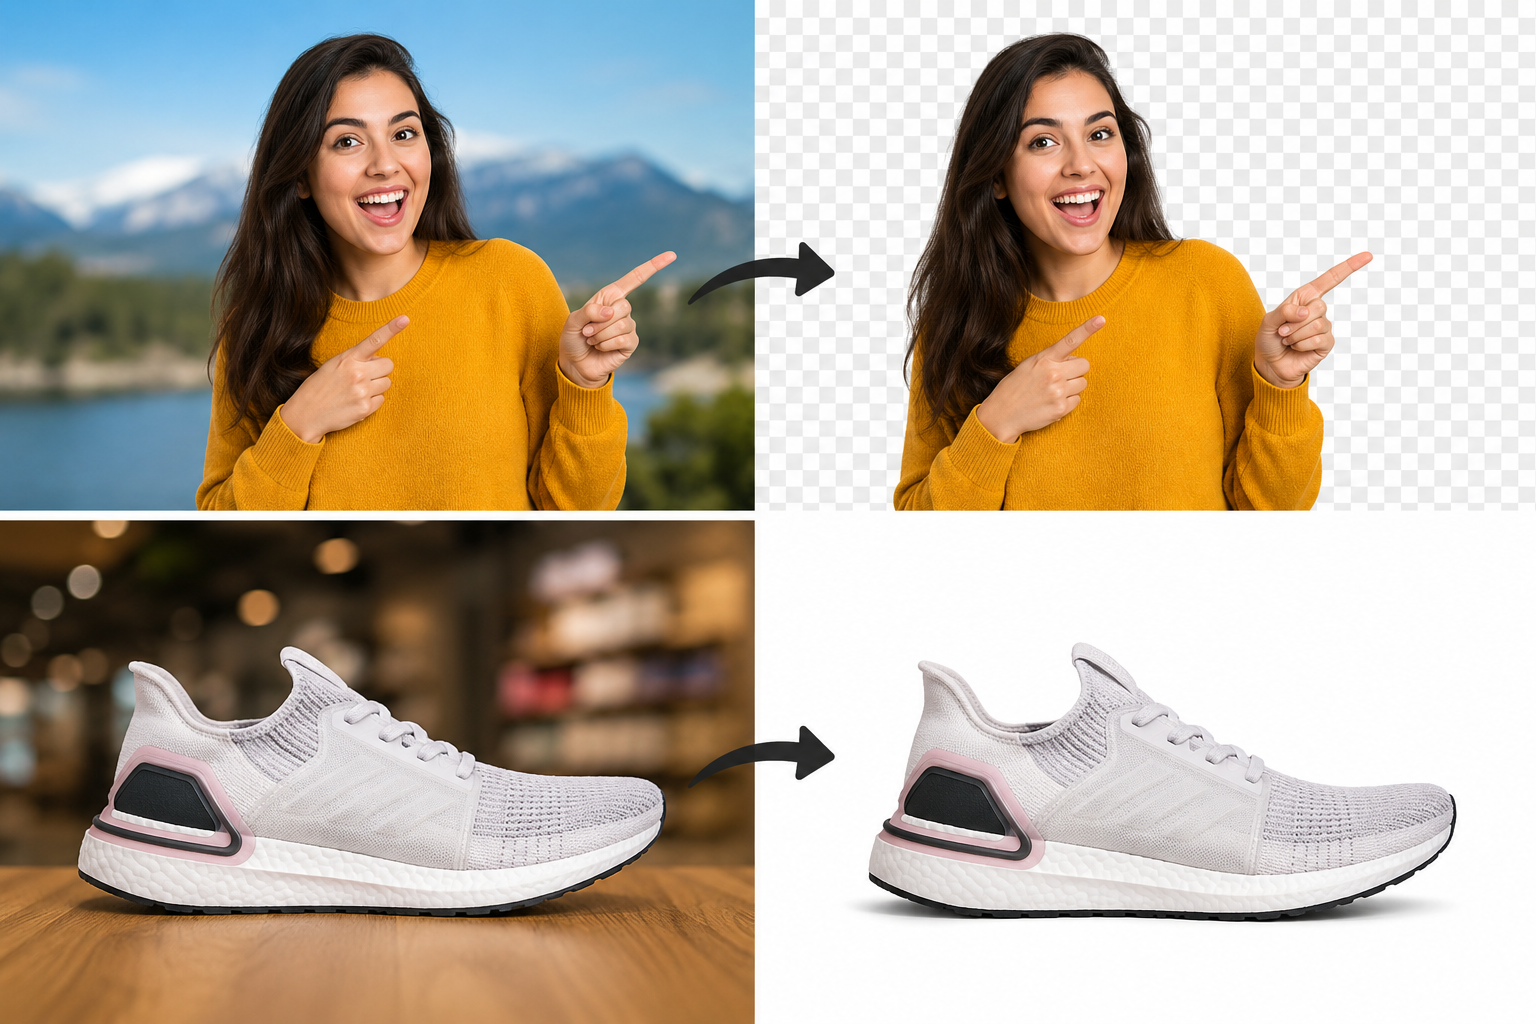
Remove the background
Upload the image to the Pixores AI Background Remover. The tool identifies the main subject and creates a cutout. Review the entire outline before downloading, especially around hair, hands, product handles, and narrow gaps.
Automatic removal is a starting point. Difficult subjects may need manual edge refinement in a full editor. Do not assume every transparent-looking preview is perfect at larger sizes.
Check edges on more than one color
A cutout can look clean on white while hiding a pale halo that becomes obvious on black. Test the result on light, dark, and saturated backgrounds. Look for leftover color spill, jagged pixels, missing details, and semi-transparent fringe.
For thumbnails, the edge can sometimes use a deliberate outline or shadow. Add those effects after creating a clean cutout so they remain editable.
Export without losing transparency
Choose PNG when the transparent result must work in common editors and presentation tools. Do not convert it to ordinary JPEG, because JPEG does not store transparency and will fill transparent pixels with a solid color. If you received a WebP cutout and need PNG compatibility, use WebP to PNG.
Useful applications
- Product images on different store backgrounds
- People or objects used in YouTube thumbnails
- Profile graphics and stickers
- Logos you own placed on branded layouts
- Presentation diagrams and educational visuals
Only remove and reuse images you created or have permission to edit. A technical ability to isolate a subject does not grant rights to publish someone else's work.
Keep a clean master
Save the full-resolution transparent PNG before adding text, outlines, or a new background. That master can be reused in Pixores Thumbnail Maker, social posts, and future designs without repeating the removal process.
Final checklist
Use a sharp source, review difficult edges, test the cutout on multiple colors, export to a transparency-capable format, and keep the master. For more background-removal advice, read How to Remove Image Backgrounds for Free.